

Updated June 8, 2023
Maintaining clean and hygienic floors is crucial for the overall cleanliness and safety of any facility. In the wake of the global COVID pandemic, it has become even more essential to adopt effective disinfection practices. In this guide, we will explore how to use an auto scrubber machine to disinfect floors and provide you with practical personal protective equipment (PPE) tips and techniques.
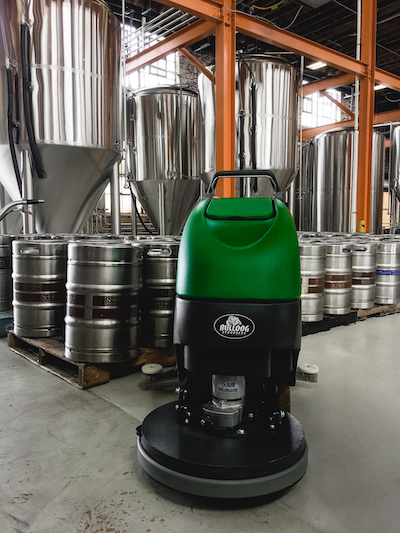
If you are interested in providing your staff with training on proper floor cleaning procedures, please contact Factory Cleaning Equipment.
How to Disinfect Floors with an Auto Scrubber
1. Put on Personal Protective Equipment (PPE)
Ensuring the safety and well-being of your staff is paramount in any working environment. Personal Protective Equipment (PPE) plays a critical role in minimizing risks and protecting individuals from potential hazards. Familiarizing yourself with the appropriate PPE is essential for maintaining a safe workplace. Carefully read the labels of all cleaning chemicals and disinfectants to understand the specific PPE requirements.
PPE List:
- Safety Goggles or Glasses: These protective eyewear options shield the eyes from chemicals, debris, and other potential hazards. Ensure that safety goggles or glasses provide a snug fit and have appropriate impact resistance.
- Disposable Gloves: Gloves serve as a barrier to protect hands from harmful substances and cross-contamination. It's important to remember that gloves can transfer germs to other surfaces, so take precautions. Change gloves regularly or disinfect them before touching different surfaces. Avoid touching your face while wearing gloves and always wash your hands thoroughly after removing them.
By adhering to the proper use of PPE, you can significantly reduce the risk of workplace accidents and ensure the well-being of your staff. Make sure to provide the necessary PPE equipment and educate your employees on its importance and correct usage. Remember, prioritizing safety benefits everyone involved!
2. Clean Floors
It is important to note that hard surfaces should always be cleaned first before disinfecting.
- Pick up large debris from floors. Stretch wrap, wire and banding are particularly bad for the machine.
- Sweep floors first if your machine is not a scrubber/sweeper type machine.
- Empty the solution tank. Thoroughly rinse it out.
- Empty the dirty water tank and debris hopper. Rinse them out thoroughly.
- Add water and cleaning solution to the clean water tank. Follow the dilution instructions carefully. Using too much detergent will result in a residue on the floor that attracts soils from shoes and vehicle wheels.
- Scrub floors thoroughly to remove as much of the soil and other contaminants possible. Use the squeegee while scrubbing to pick up the dirty water.
3. Disinfect Floors
Following the proper dwell time is necessary to throroughly disinfect floors. Areas will be left damp for extended periods of time, so take the necessary precautions to keep rolling equipment and pedestrians out of the area until it is safe!
- Set up wet floor signs or necessary barricades on aisles being disinfected.
- Empty the solution tank. Thoroughly rinse it out.
- Empty the dirty water tank and debris hopper. Rinse them out thoroughly.
- Fill the solution tank with clean water and an EPA approved disinfectant. We can help you pick a safe product that is best for your facility. Important: Read the disinfectant label carefully for the proper dilution. More is not better!
- Scrub the surface with the squeegee raised. Set the water flow as low as possible. Every floor surface may require a different water flow to disperse the disinfectant across the entire scrub path.
- Use a pump-up sprayer or battery powered sprayer to wet floor surfaces that the scrubber did not reach. Consider the areas close to racks and walls. Any area where the scrubber cannot go.
- Allow the floor to remain wet for the dwell time required for your disinfectant. This is usually 10 minutes.
- Let the floor dry. If puddling occurs, use the squeegee to pick up the water after the required dwell time.
Remember, do not take shortcuts when you are cleaning your floors.
4. Disinfect Your Cleaning Equipment
Remember additional PPE may be required for this task. Consider large rubber gloves, an apron that protects you from liquid, and a clear face shield.
- Empty the dirty water tank. Dispose of liquid properly because your dirty water tank could be harboring bacteria and germs.
- Let the tank air dry with lids and clean outs open. Alternatively, you can fill the tank with disinfectant solution and let it soak with lids closed.
- Empty the hopper if the machine is a scrubber-sweeper. Rinse thoroughly.
- Clean the squeegee thoroughly. This can be accomplished with the squeegee on or off the machine.
- Clean scrub head and other soiled parts thoroughly.
- Apply disinfectant to all areas of the machine that came in contact with the dirty water or debris. Simply allow it to air dry.
- Spray disinfectant on all touch points of the machine including dash-board, controls, steering wheel, handles and levers. Let it dry.
5. Dispose of Personal Protective Equipment
Dispose of all your personal protective equipment and avoid future contamination when you have completed cleaning and disinfecting your floors:
- Remove all PPE.
- Clean and disinfect your PPE if it is reusable.
- Thoroughly wash your hands, arms, and face.